
It is essential to clean and sanitize your toenail clippers for thick nails regularly. This will help reduce the possibility of contracting fungal infections or other diseases. Unfortunately, many people overlook this important task and end up with an uncomfortable infection caused by using dirty tools. Here’s a step-by-step guide on properly cleaning and sanitizing your toenail clippers for thick nails so you can keep your feet healthy and free from infection.
1: Gather Necessary Supplies
To get started, you’ll need some basic supplies including rubbing alcohol, cotton swabs, nail brush, warm water, soap, vinegar, damp cloths and a disinfectant spray or wipes. You may also want to use a pair of gloves if you have sensitive skin. Once you have all these items ready it’s time to start cleaning.
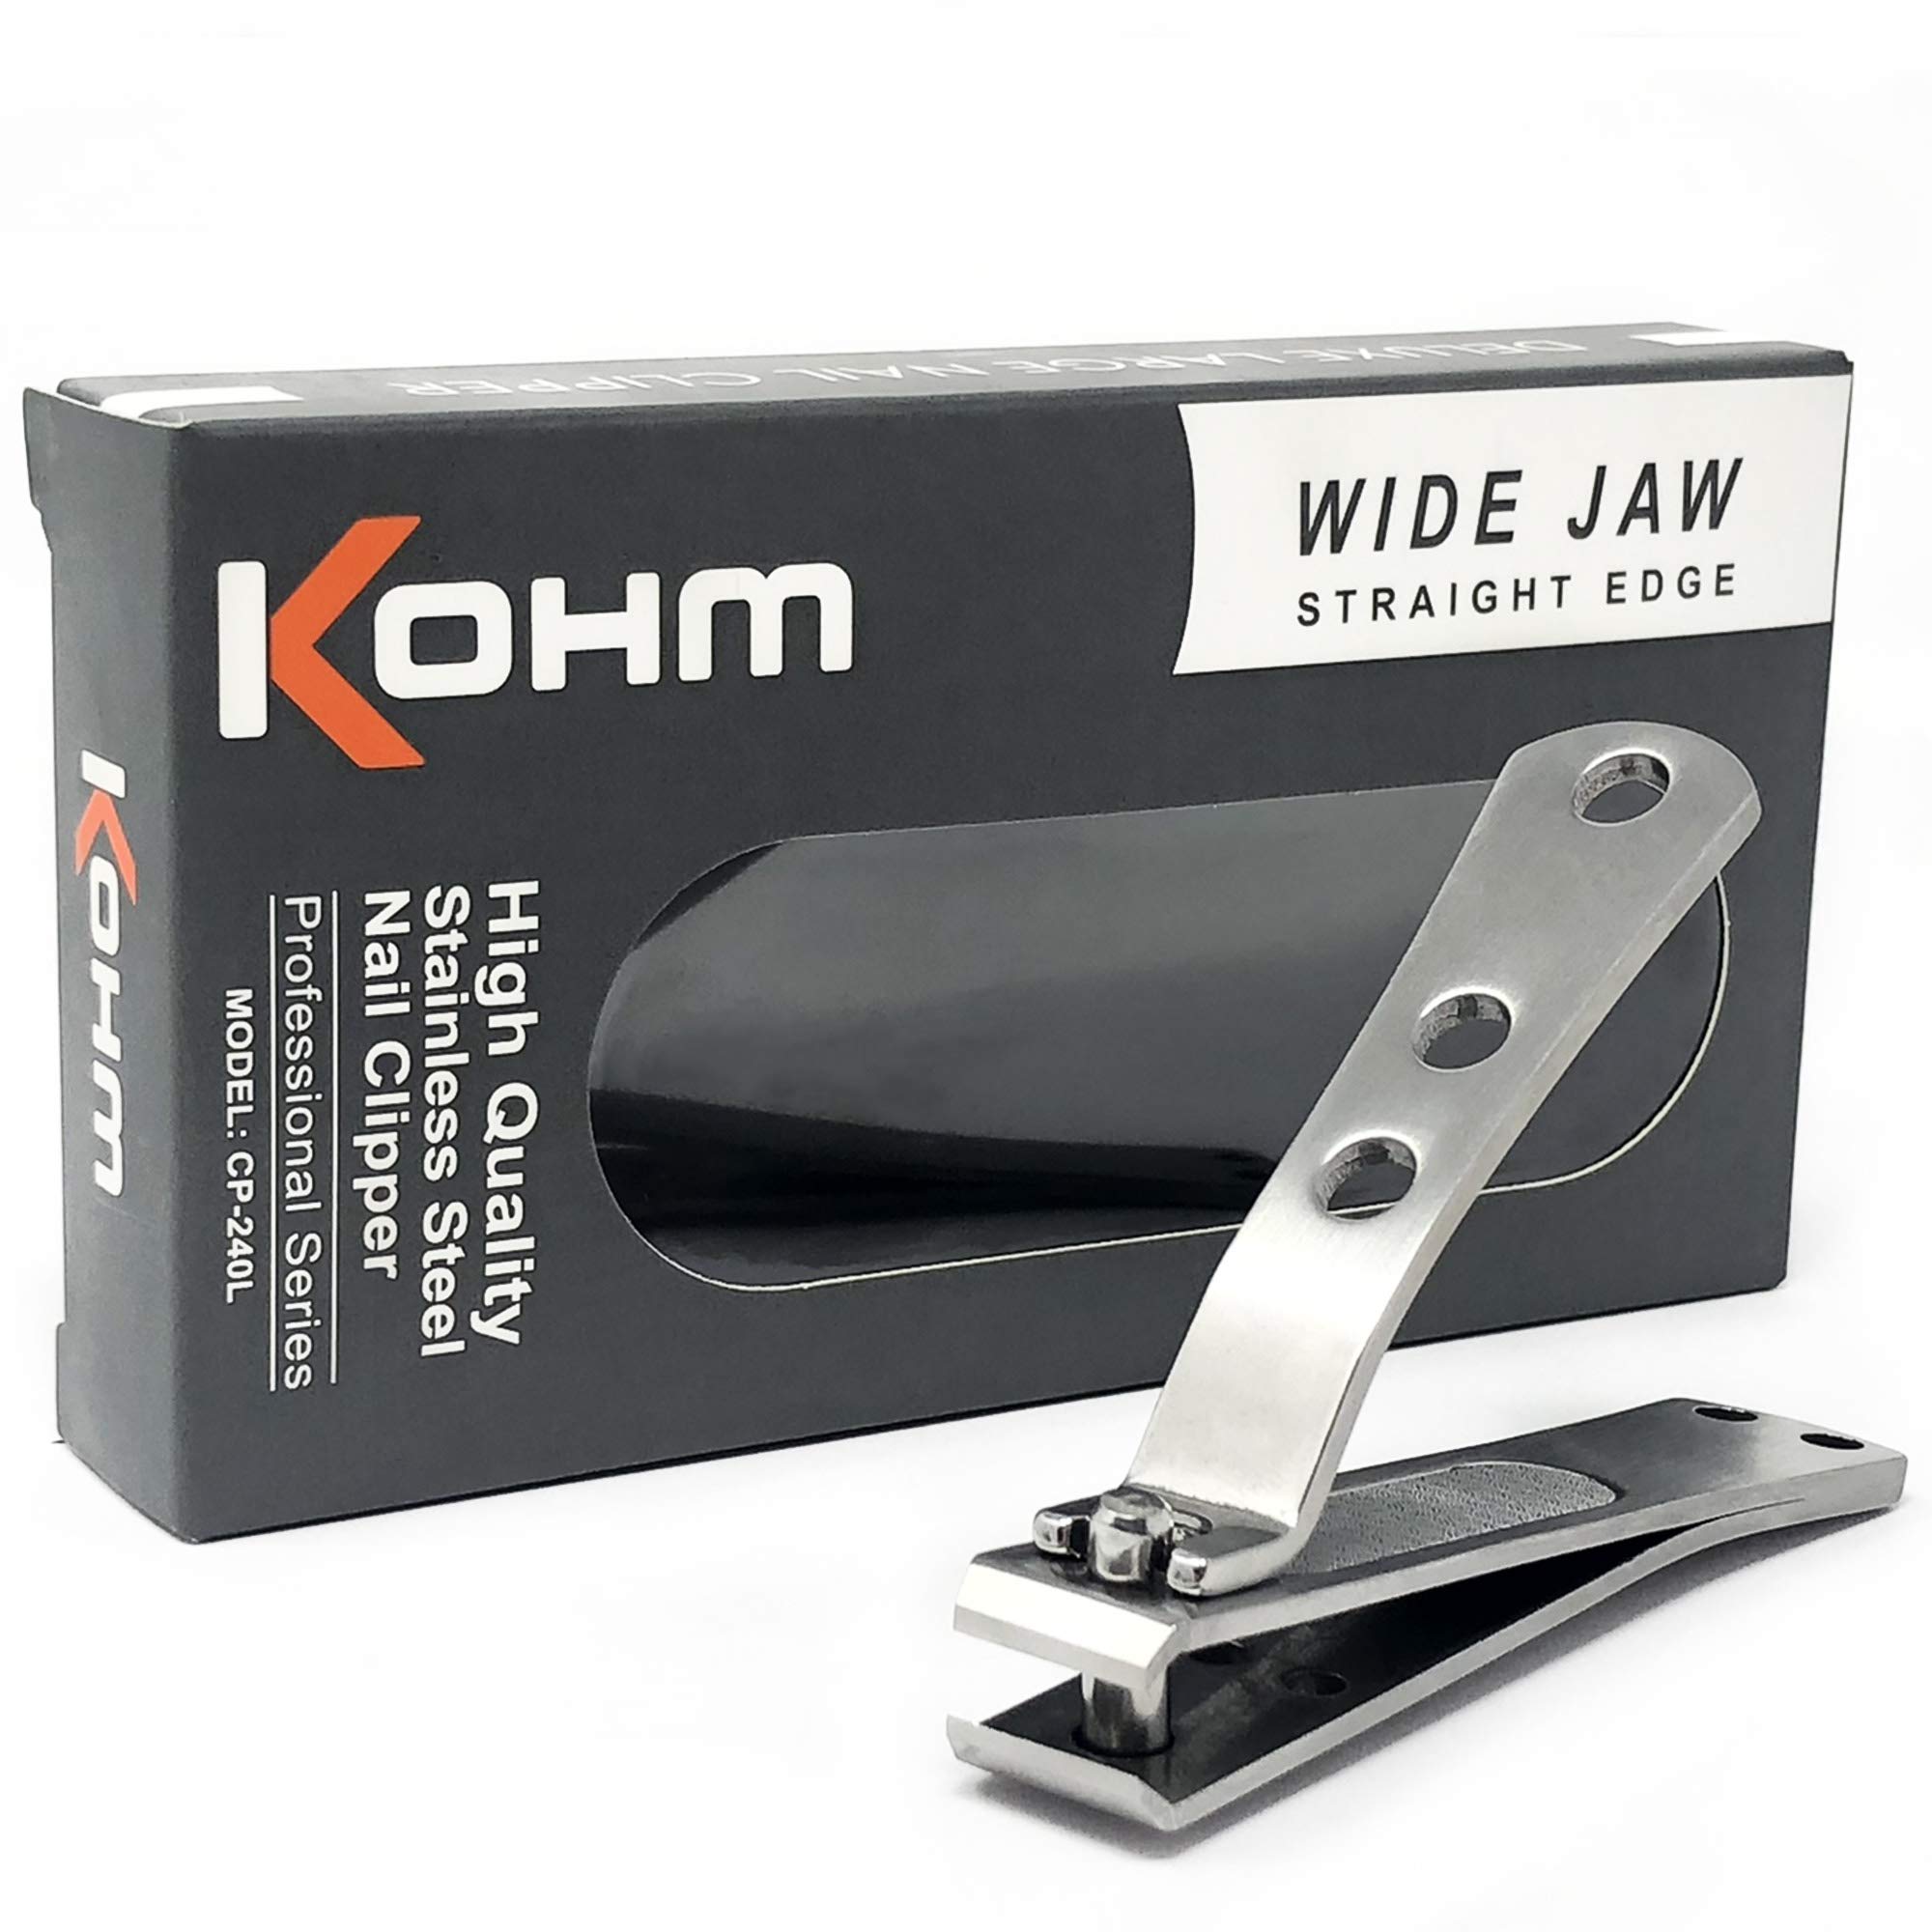
2: Disassemble The Clippers
Before you start cleaning, it’s important to disassemble your clippers. This will make it easier to get to those hard-to-reach places where germs may be hiding. Make sure that all screws are unscrewed before separating the parts so that nothing is damaged in the process.
3: Soak in warm water and soap
Once everything has been disassembled, take each part one at a time and soak it in warm water mixed with a few drops of soap for about 10 minutes or until any dirt or residue has been removed from the surface. After soaking, wipe each part with a damp cloth and set aside while we prepare our disinfectant solution.
4: Prepare the disinfectant solution
For the disinfectant solution, fill a bowl with one part vinegar and two parts rubbing alcohol, with a few drops of washing-up liquid added. Now dip each component separately into this solution, making sure they are submerged for at least 5 minutes before taking them out and wiping off any excess liquid with another damp cloth.
5: Dry all components with a cloth
Now that all components have been thoroughly cleaned, it’s time to dry them completely before reassembling the clippers. Take each component one at a time and dry it with an old soft cloth or paper towel until there is no moisture on the surface, then reassemble when all parts are dry.

6: Spray or wipe down with a disinfectant
Finally, simply spray or wipe down all surfaces of your now reassembled clippers with either a disinfectant spray or wipes, making sure that each area is completely covered to kill any remaining bacteria on its surface before safely storing after each use.